

What you’ll need
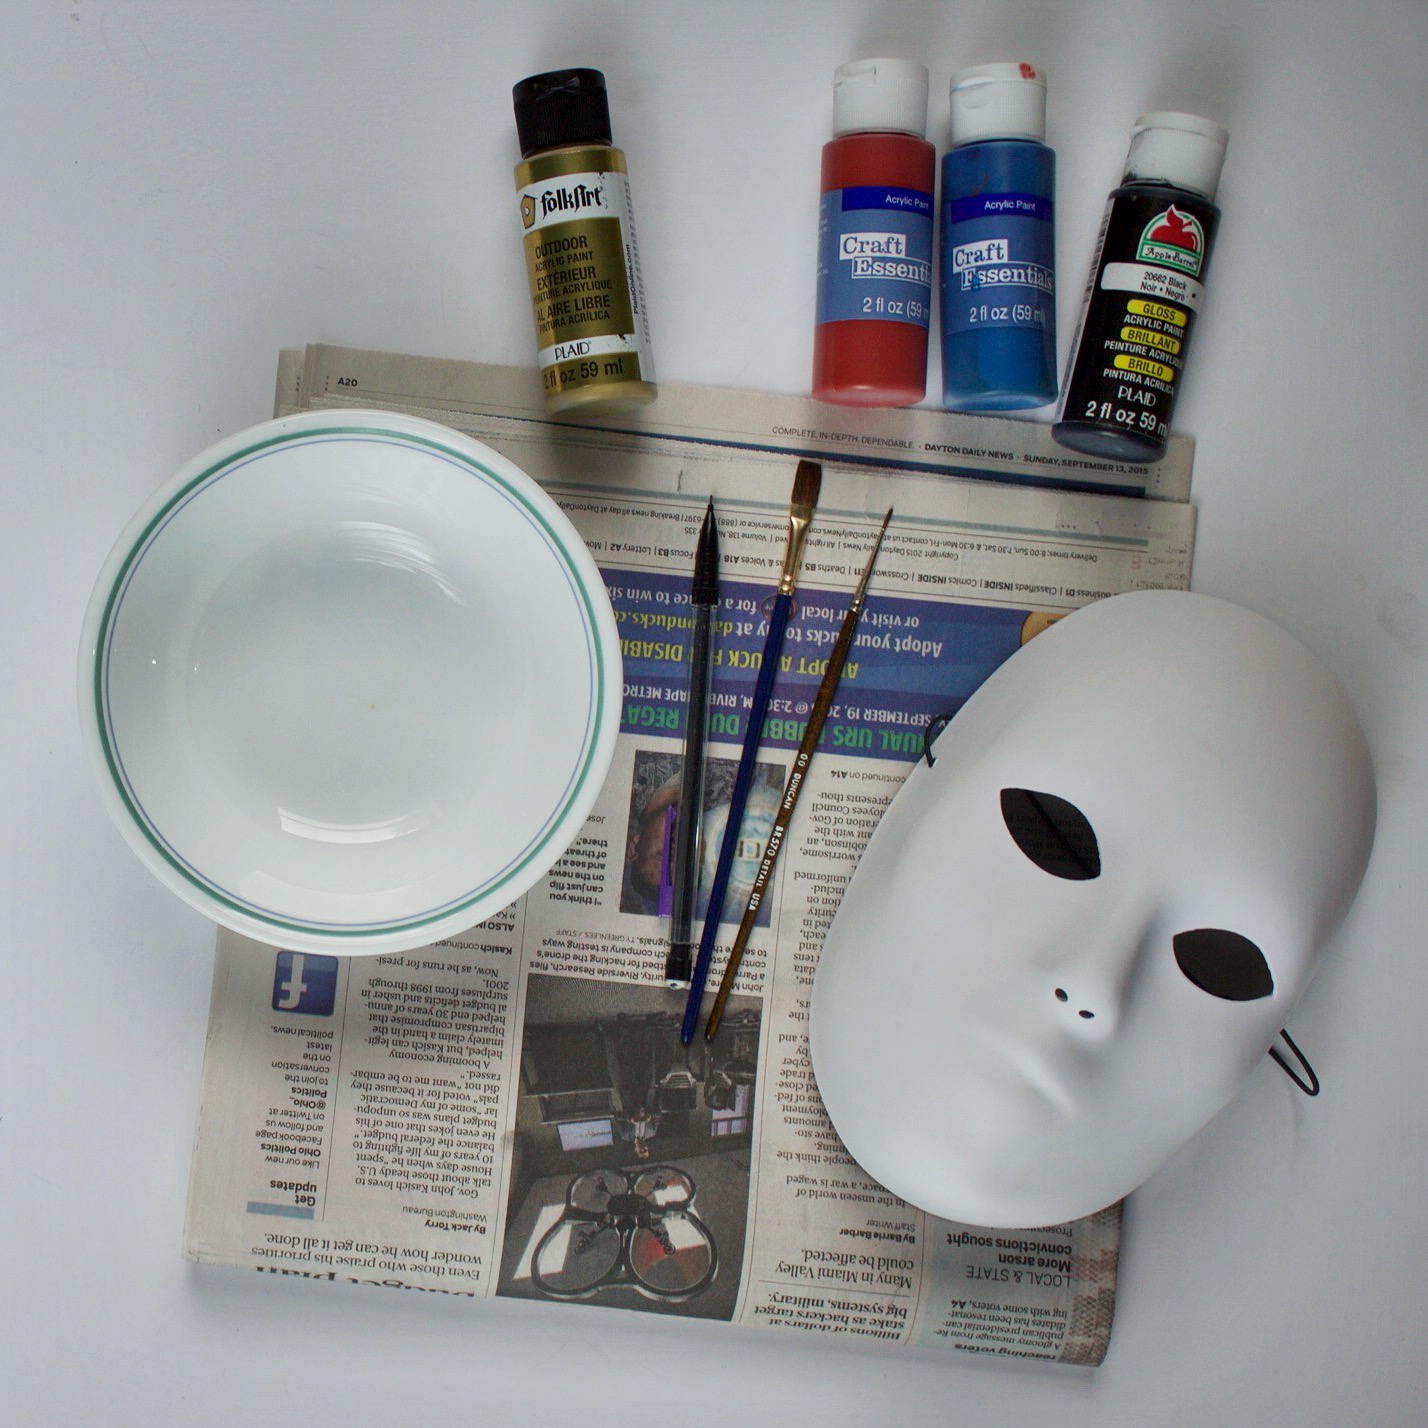
- Plain white mask (Hobby Lobby, $3.99)
- Acrylic paint (red, blue, black, gold)
- Paint brushes (fine detail brush & large area brush)
- Pencil & eraser
- Bowl, tile, or foam plate for mixing paint
- Newspaper
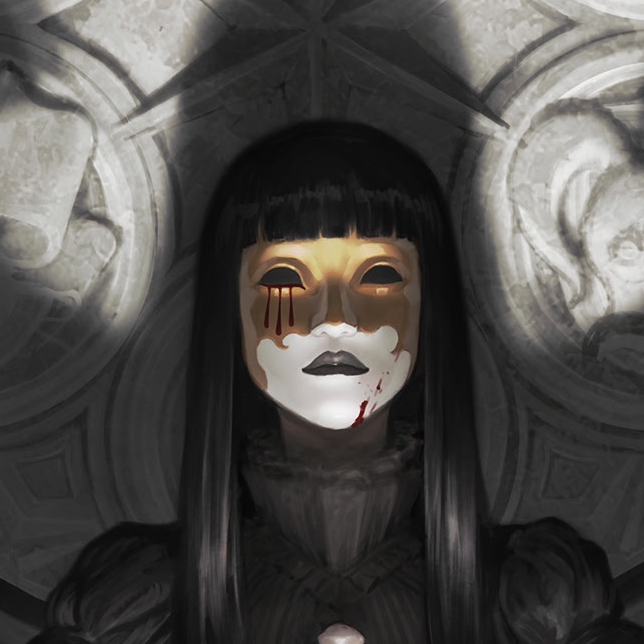
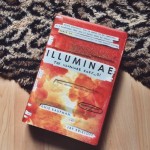
A close up of the book mask helps too!
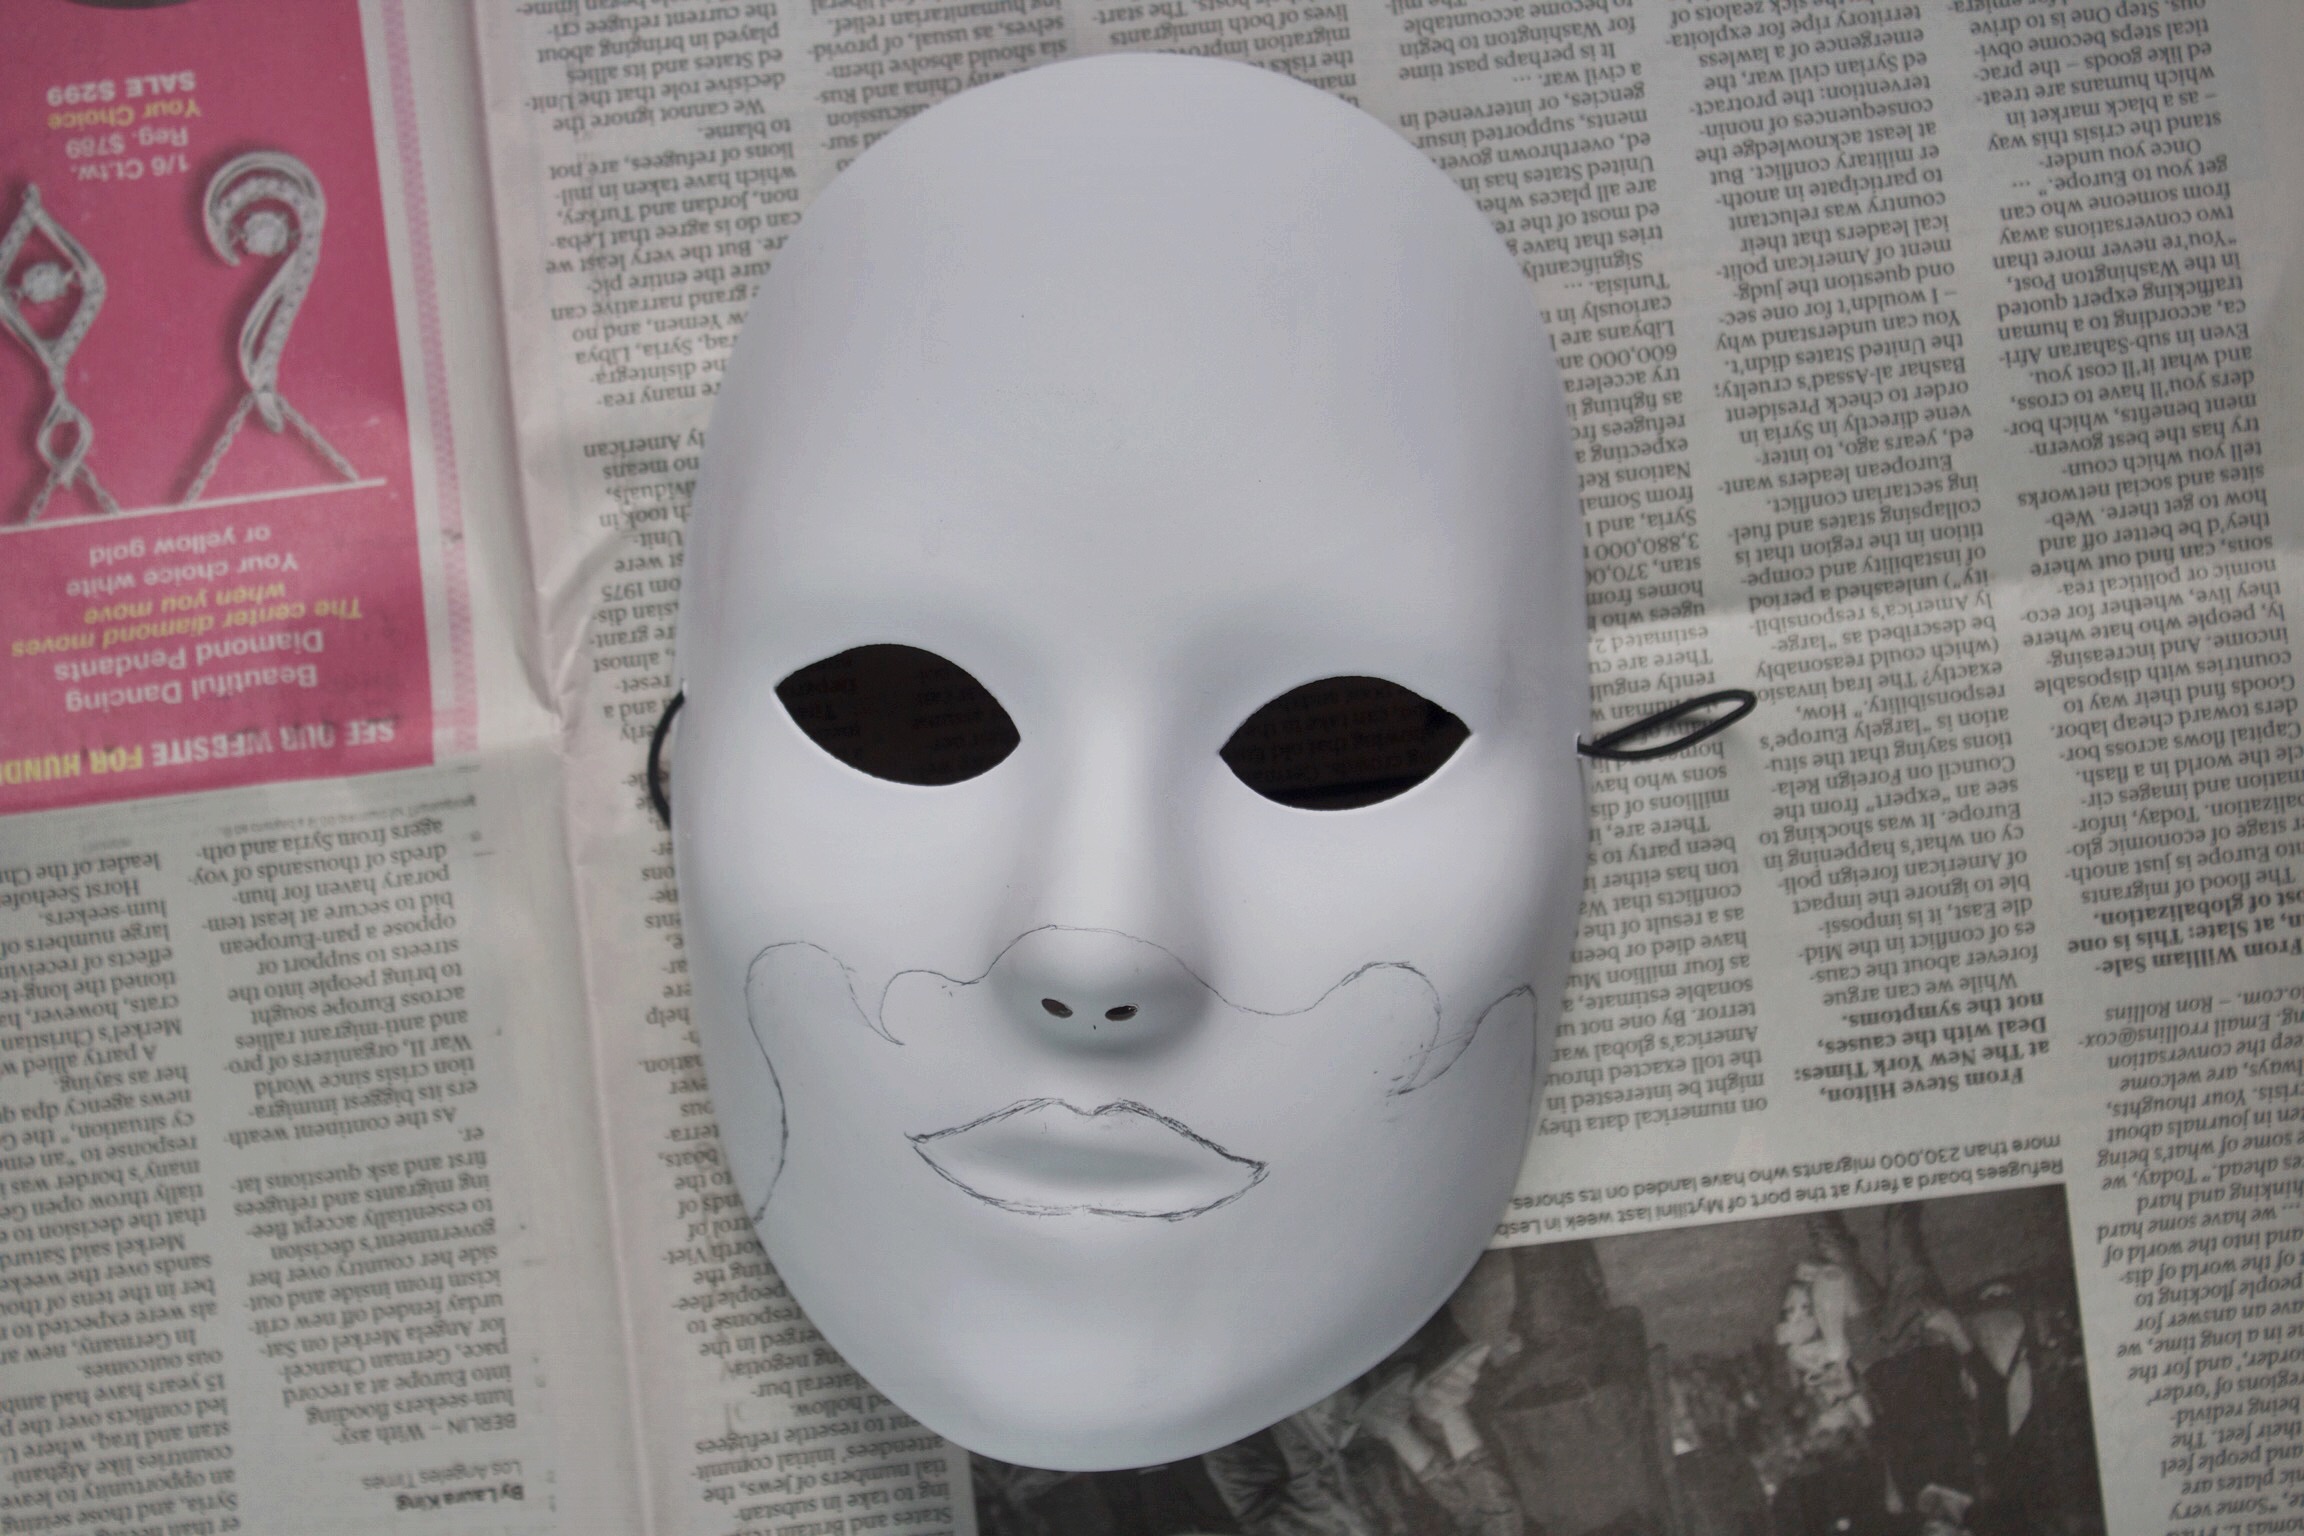
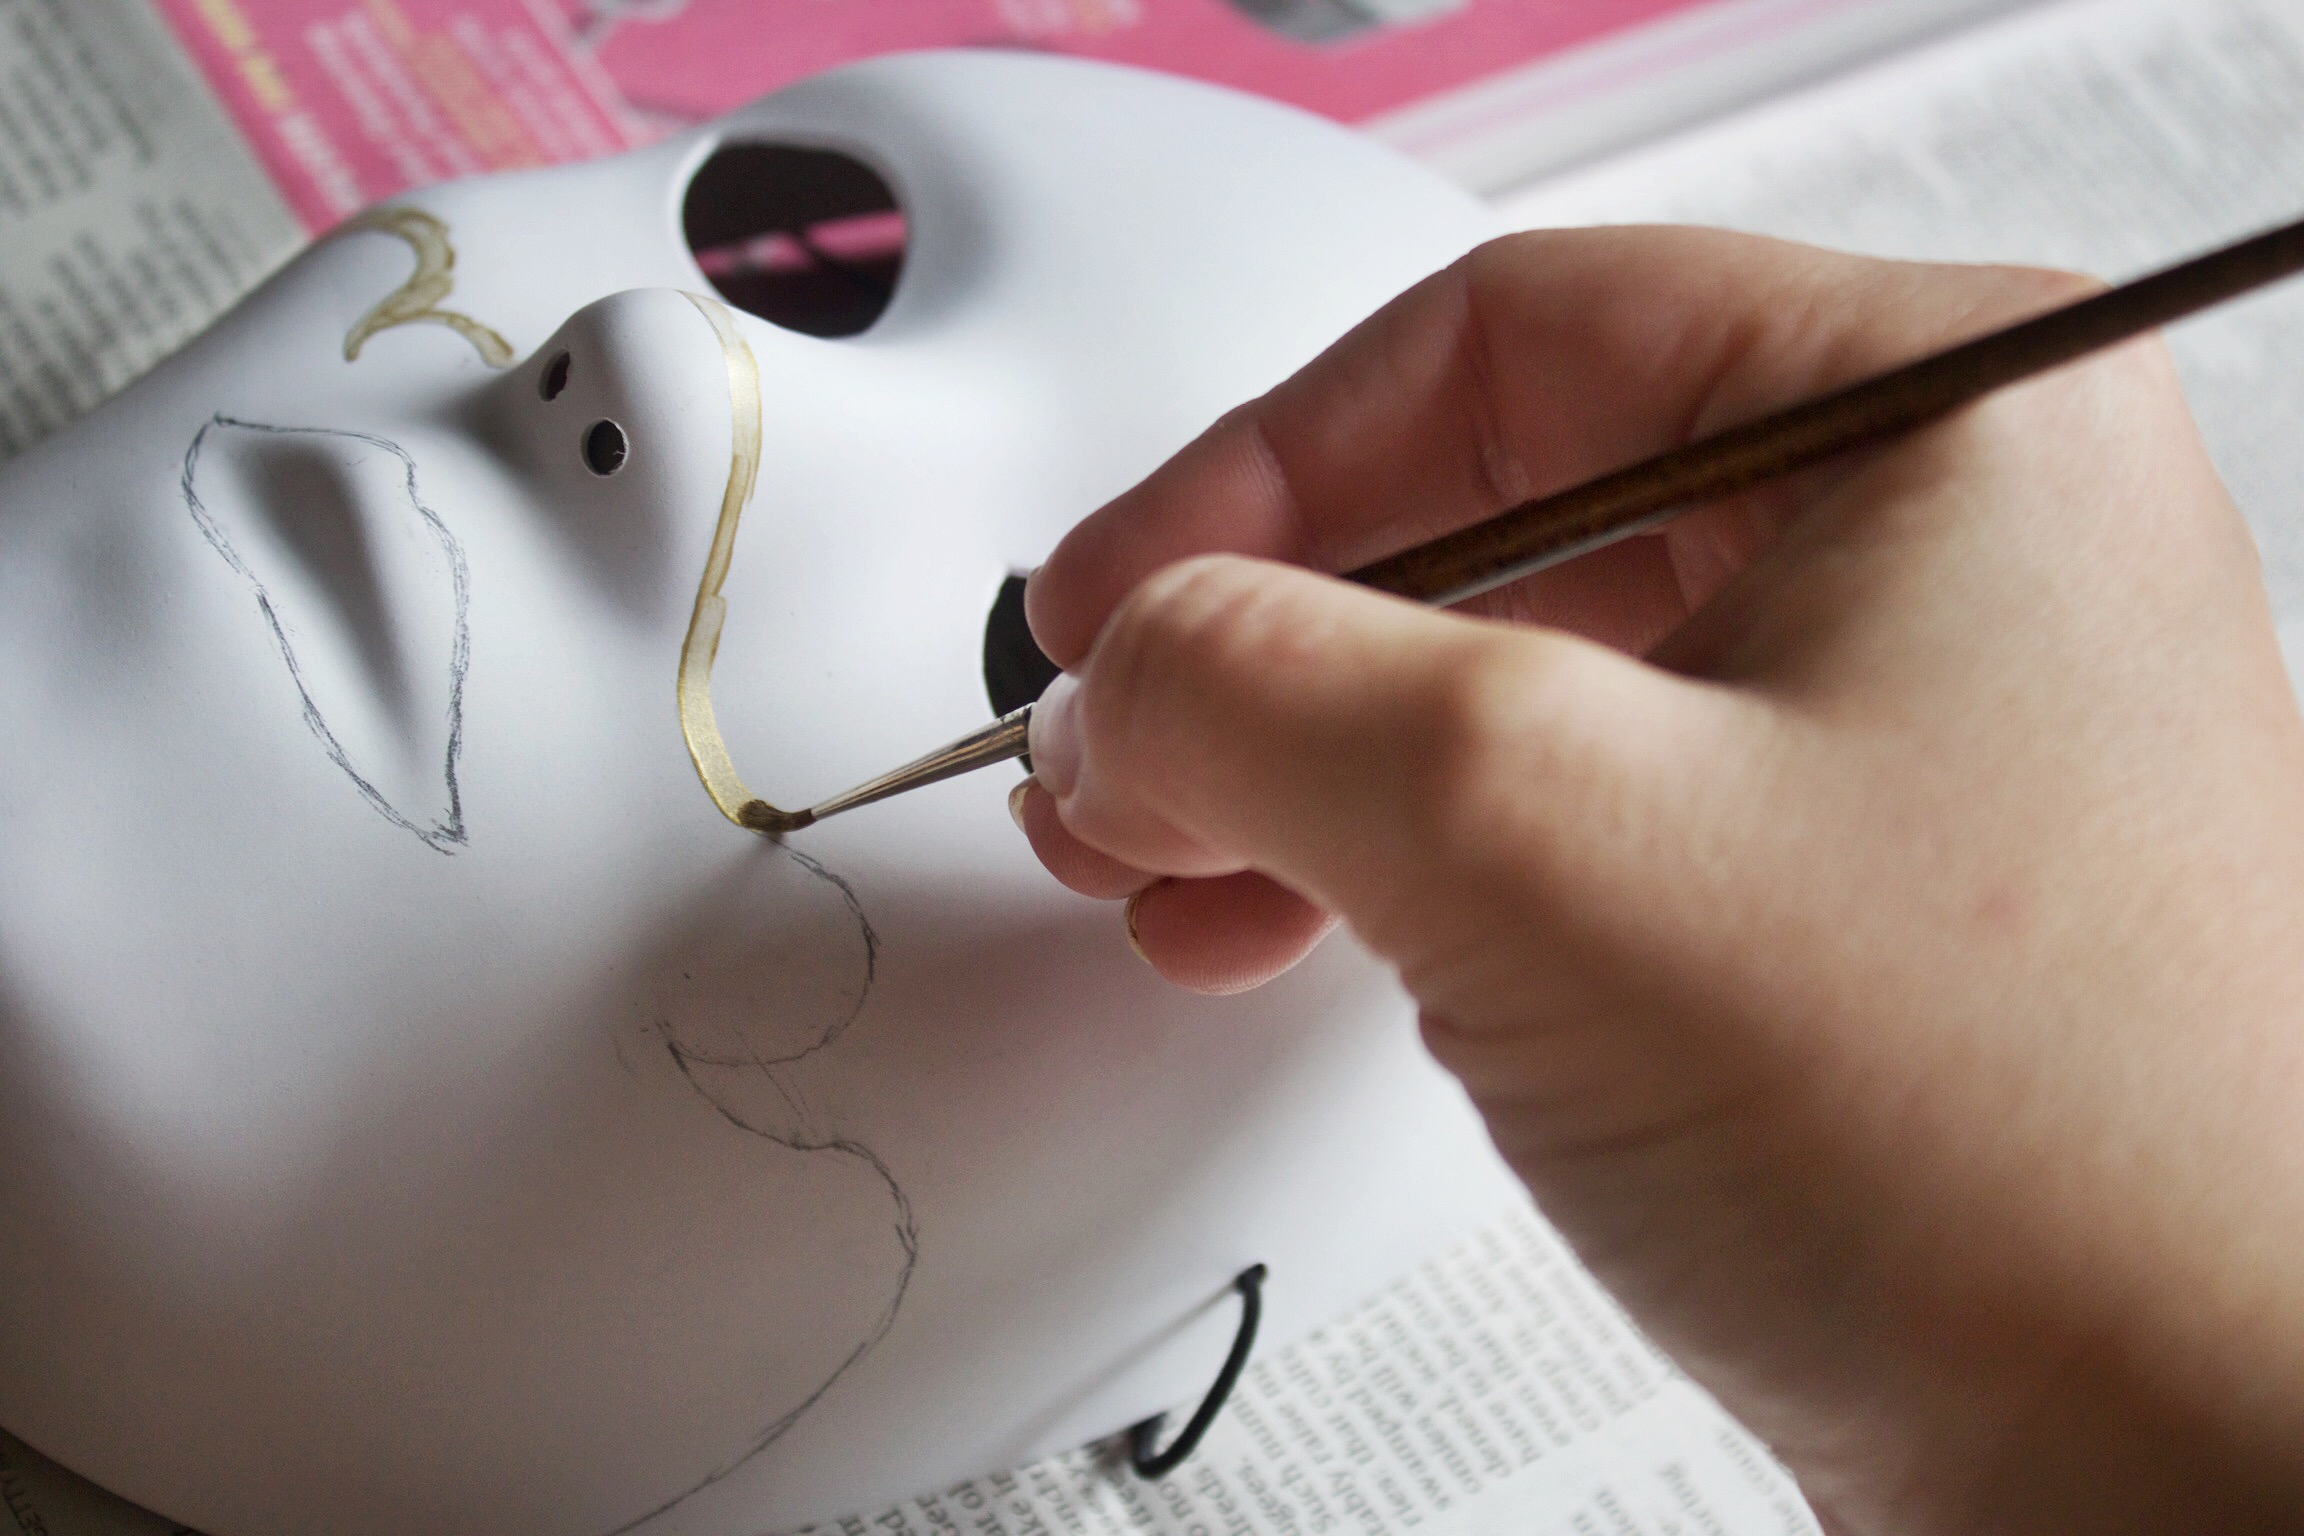
Step 1: Outlines
Using the mask on the book as a reference, lightly draw an outline of the gold design and lips using your pencil. If you’re following the book mask’s guidelines, note that both sides are different; the mask isn’t symmetrical (I think it gives it a nice touch!).
Step 2: Gold area
Before you start painting the large area gold, use a small detail brush to carefully go over the outline. I try to stay away from the border with the larger brush, as it’s easy to accidentally go outside the lines.
Now you can start filling in the gold part! Try to keep your brush strokes as even as possible, as lines show very easily on the mask’s material. (It’s a pain in the arse to get it smooth!)
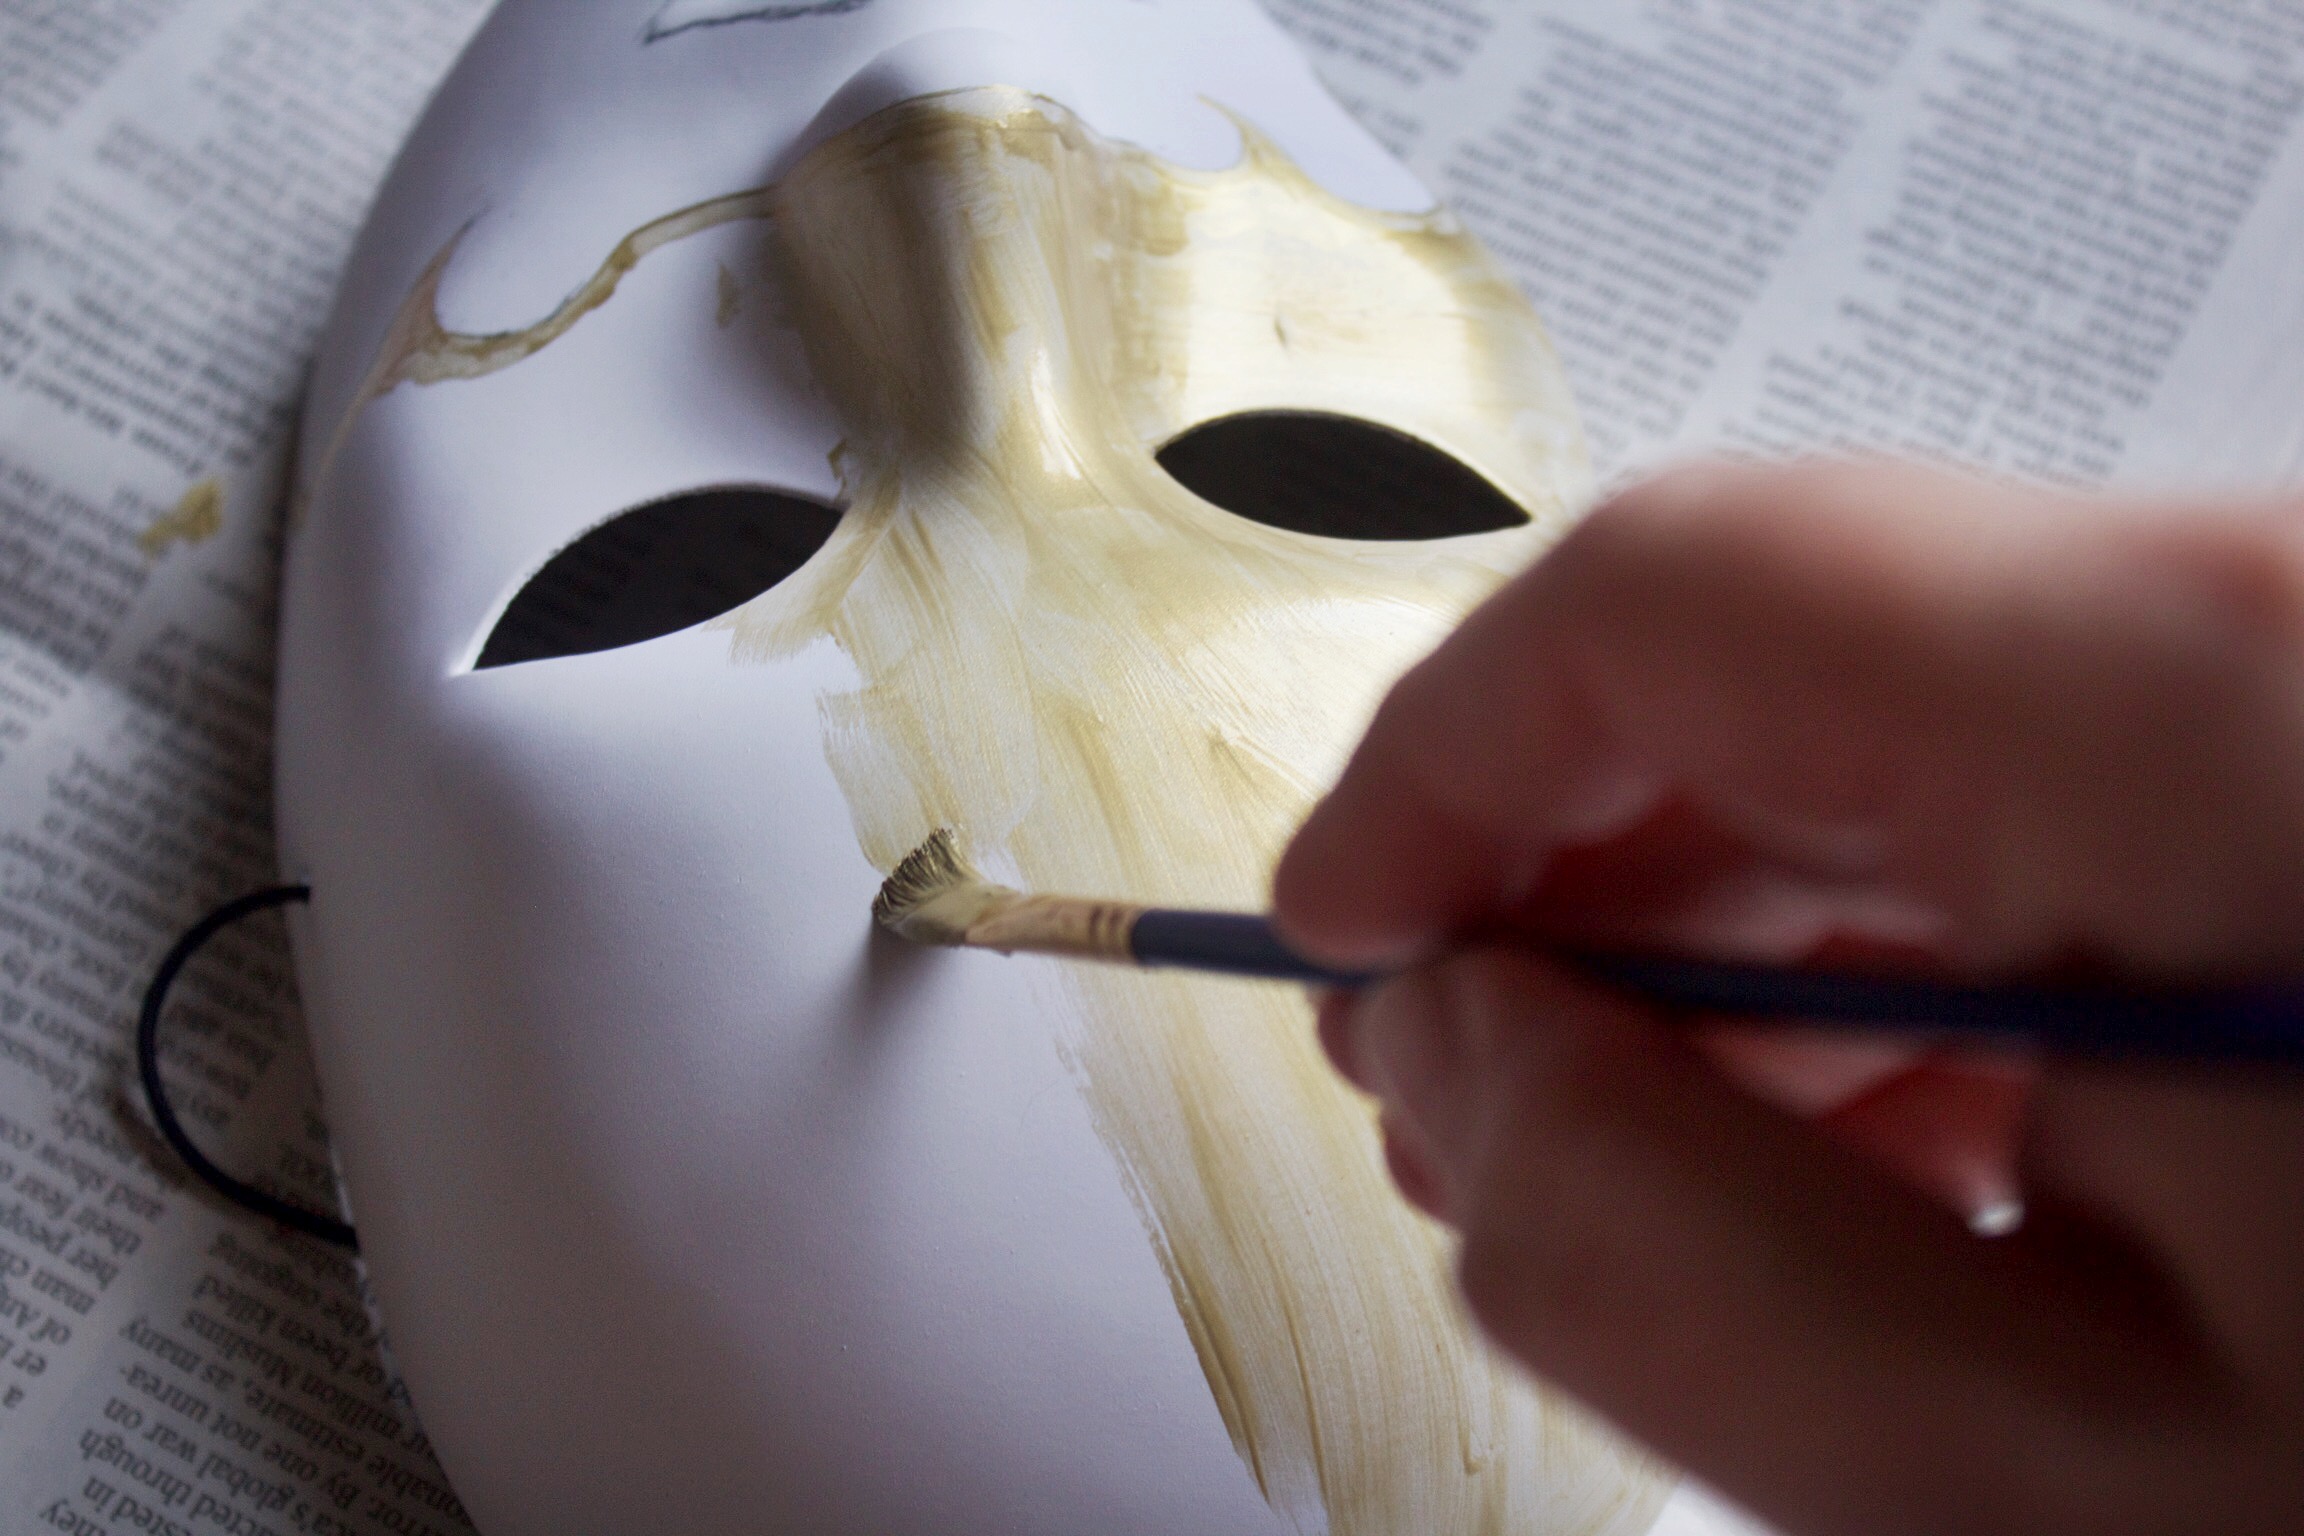
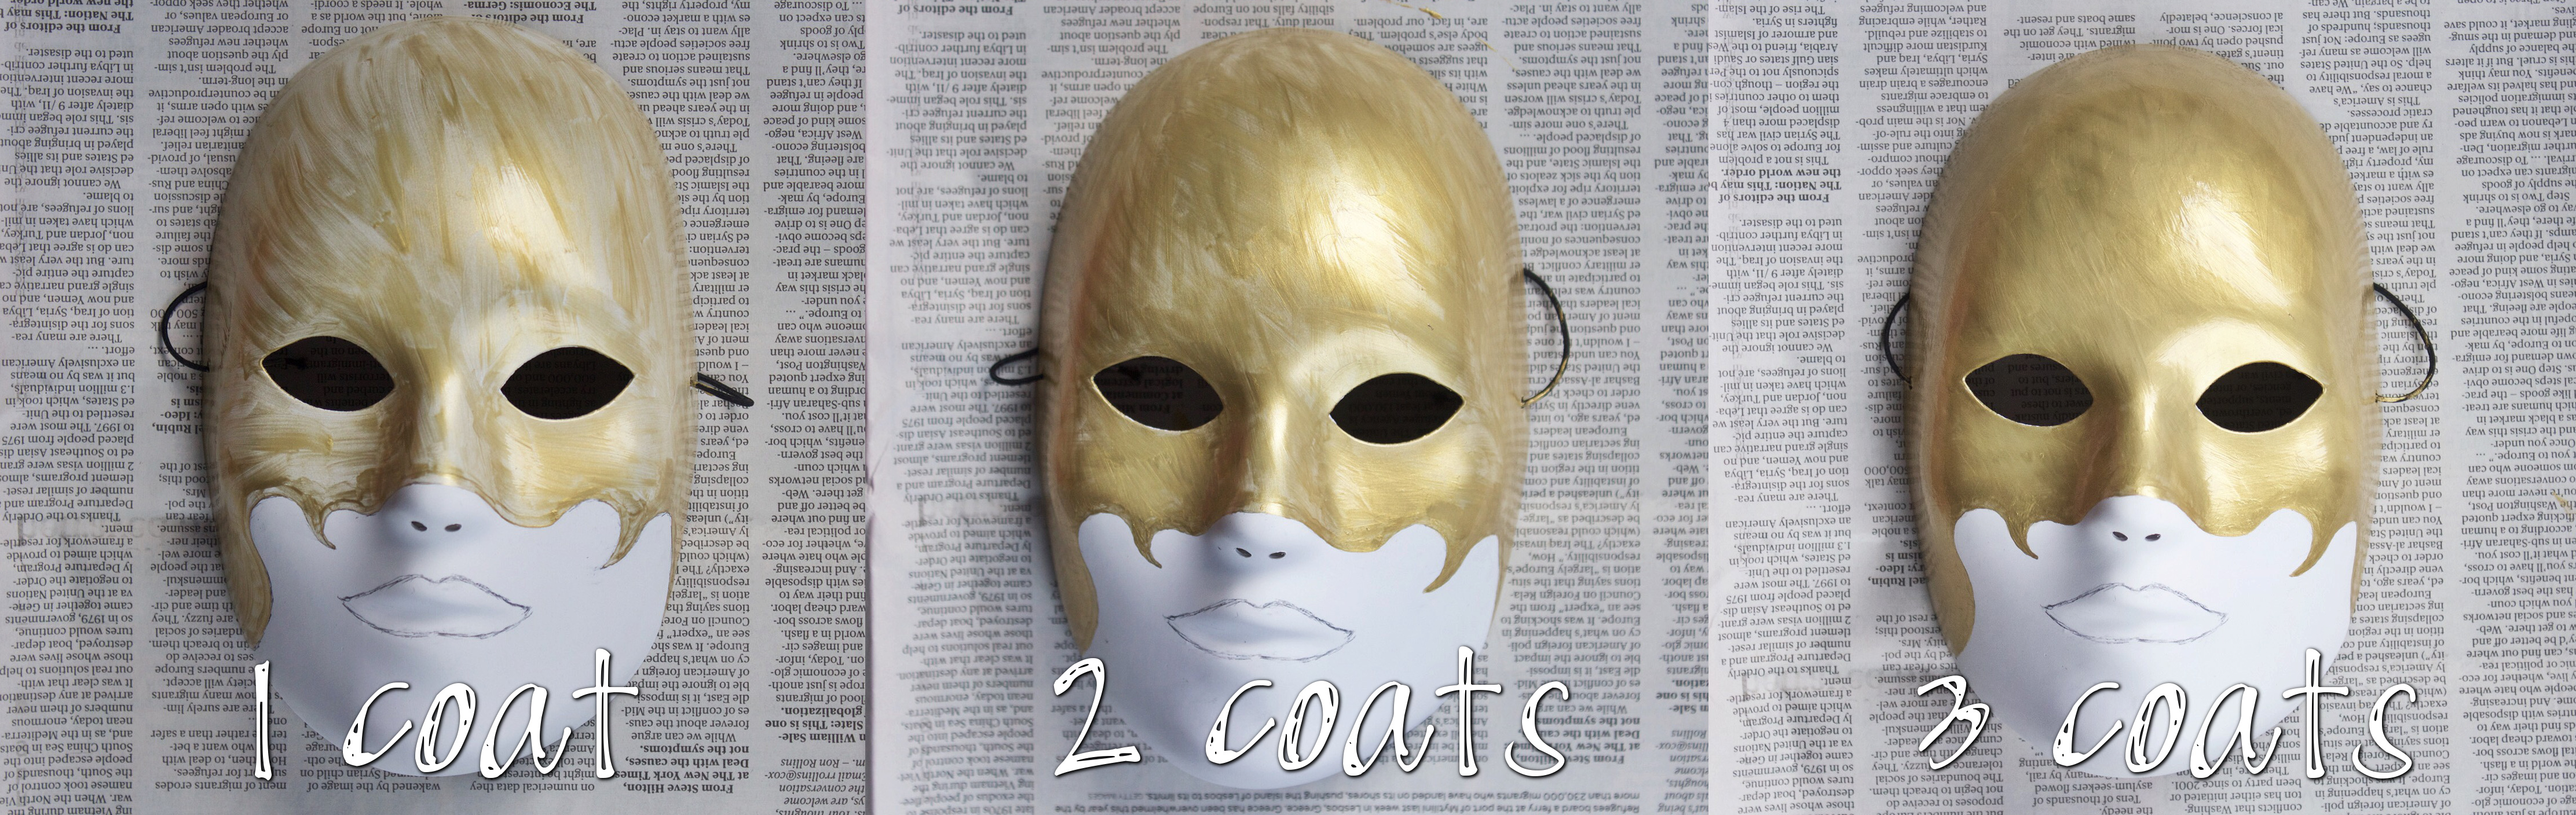
Depending on the paint you have, it’s probably going to take several coats of gold to get even coverage. I stuck with three coats for the sake of this tutorial, but as you can see it’s still pretty streaky.
Tip: Go different directions with your brush strokes each coat, it makes it look smoother!
Step 3: Lips
Just like with the gold part, carefully outline the lips with a fine detail brush before filling them in.
Again, it may take multiple coats. And now you have something that looks like this:
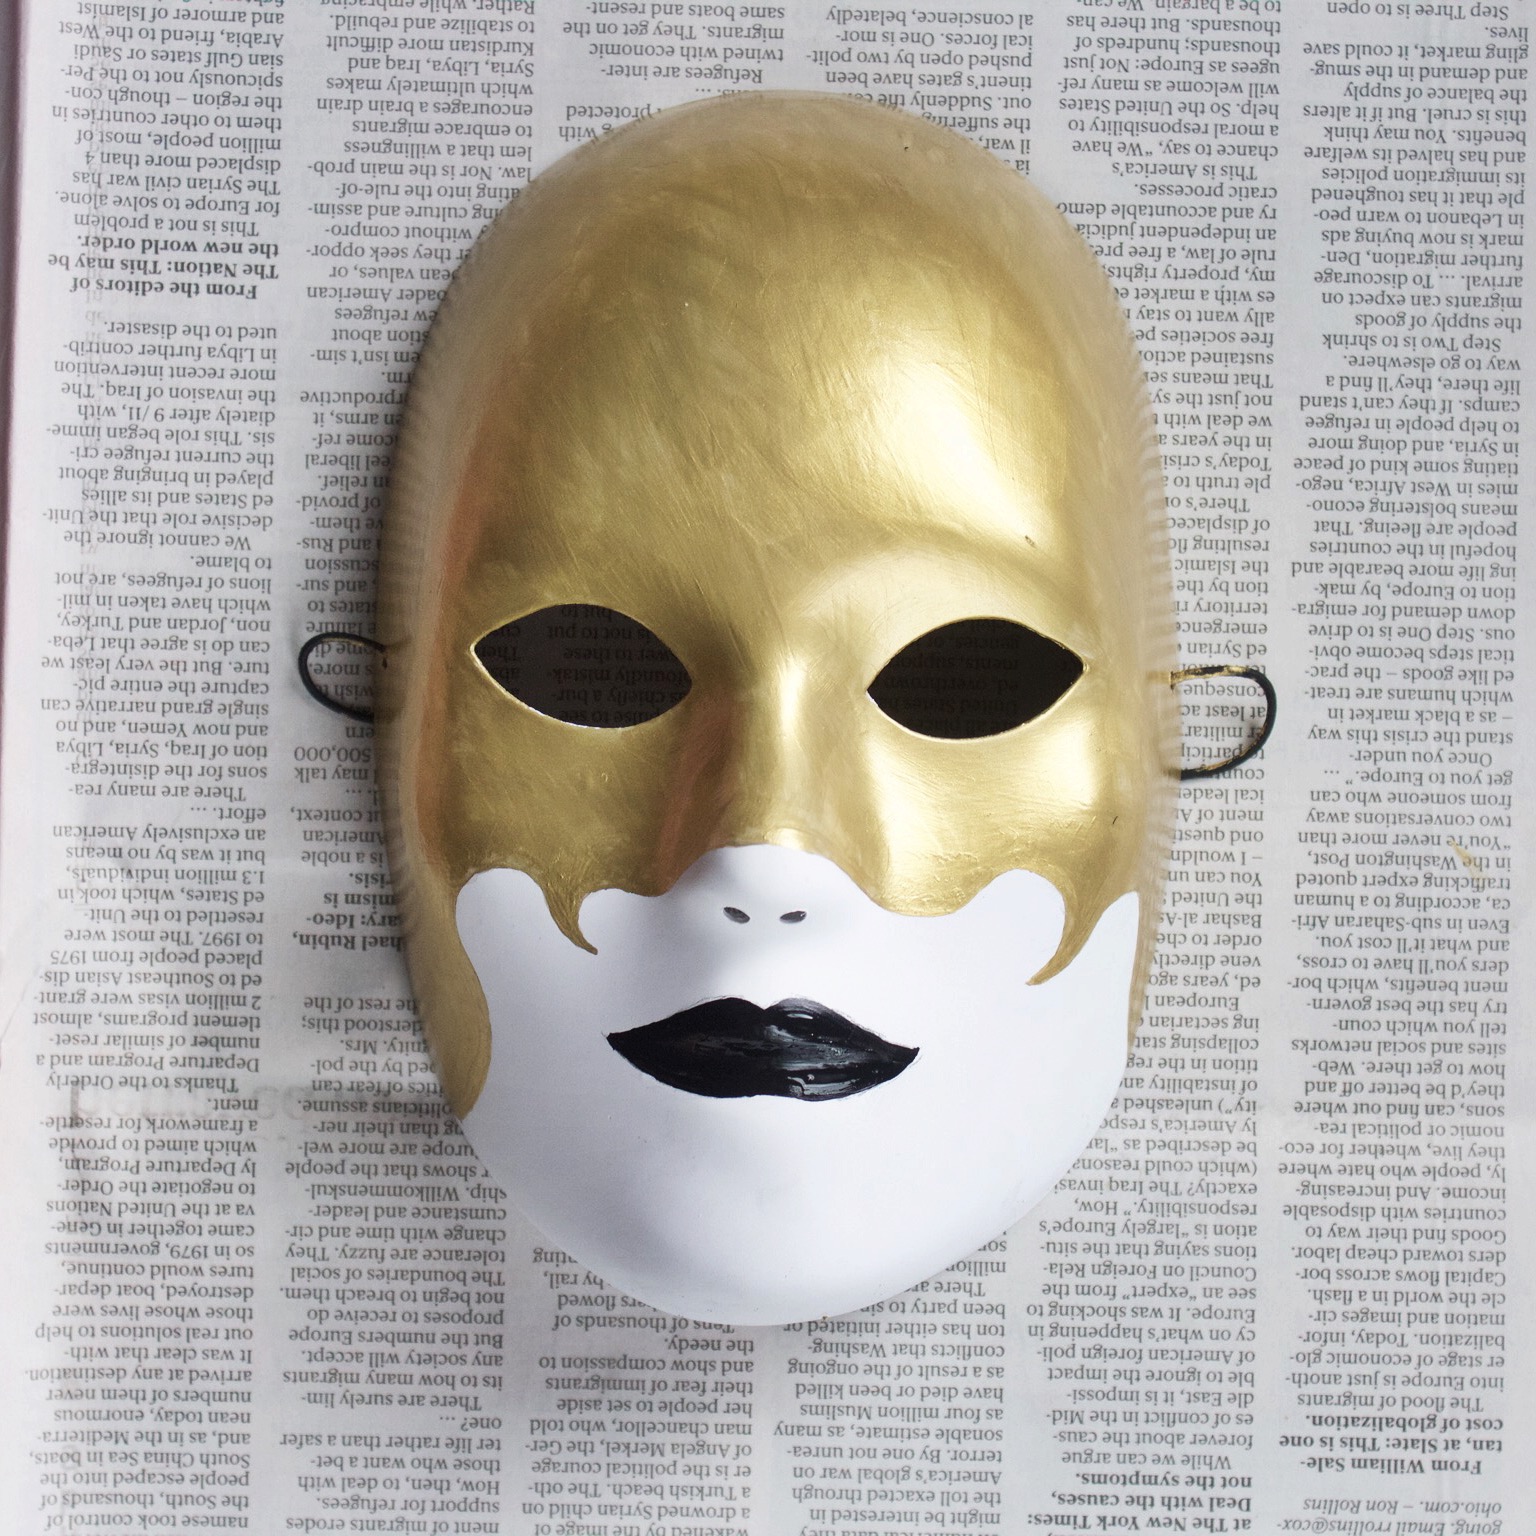
After the mask is dry, go back through and erase any pencil lines that are still showing.
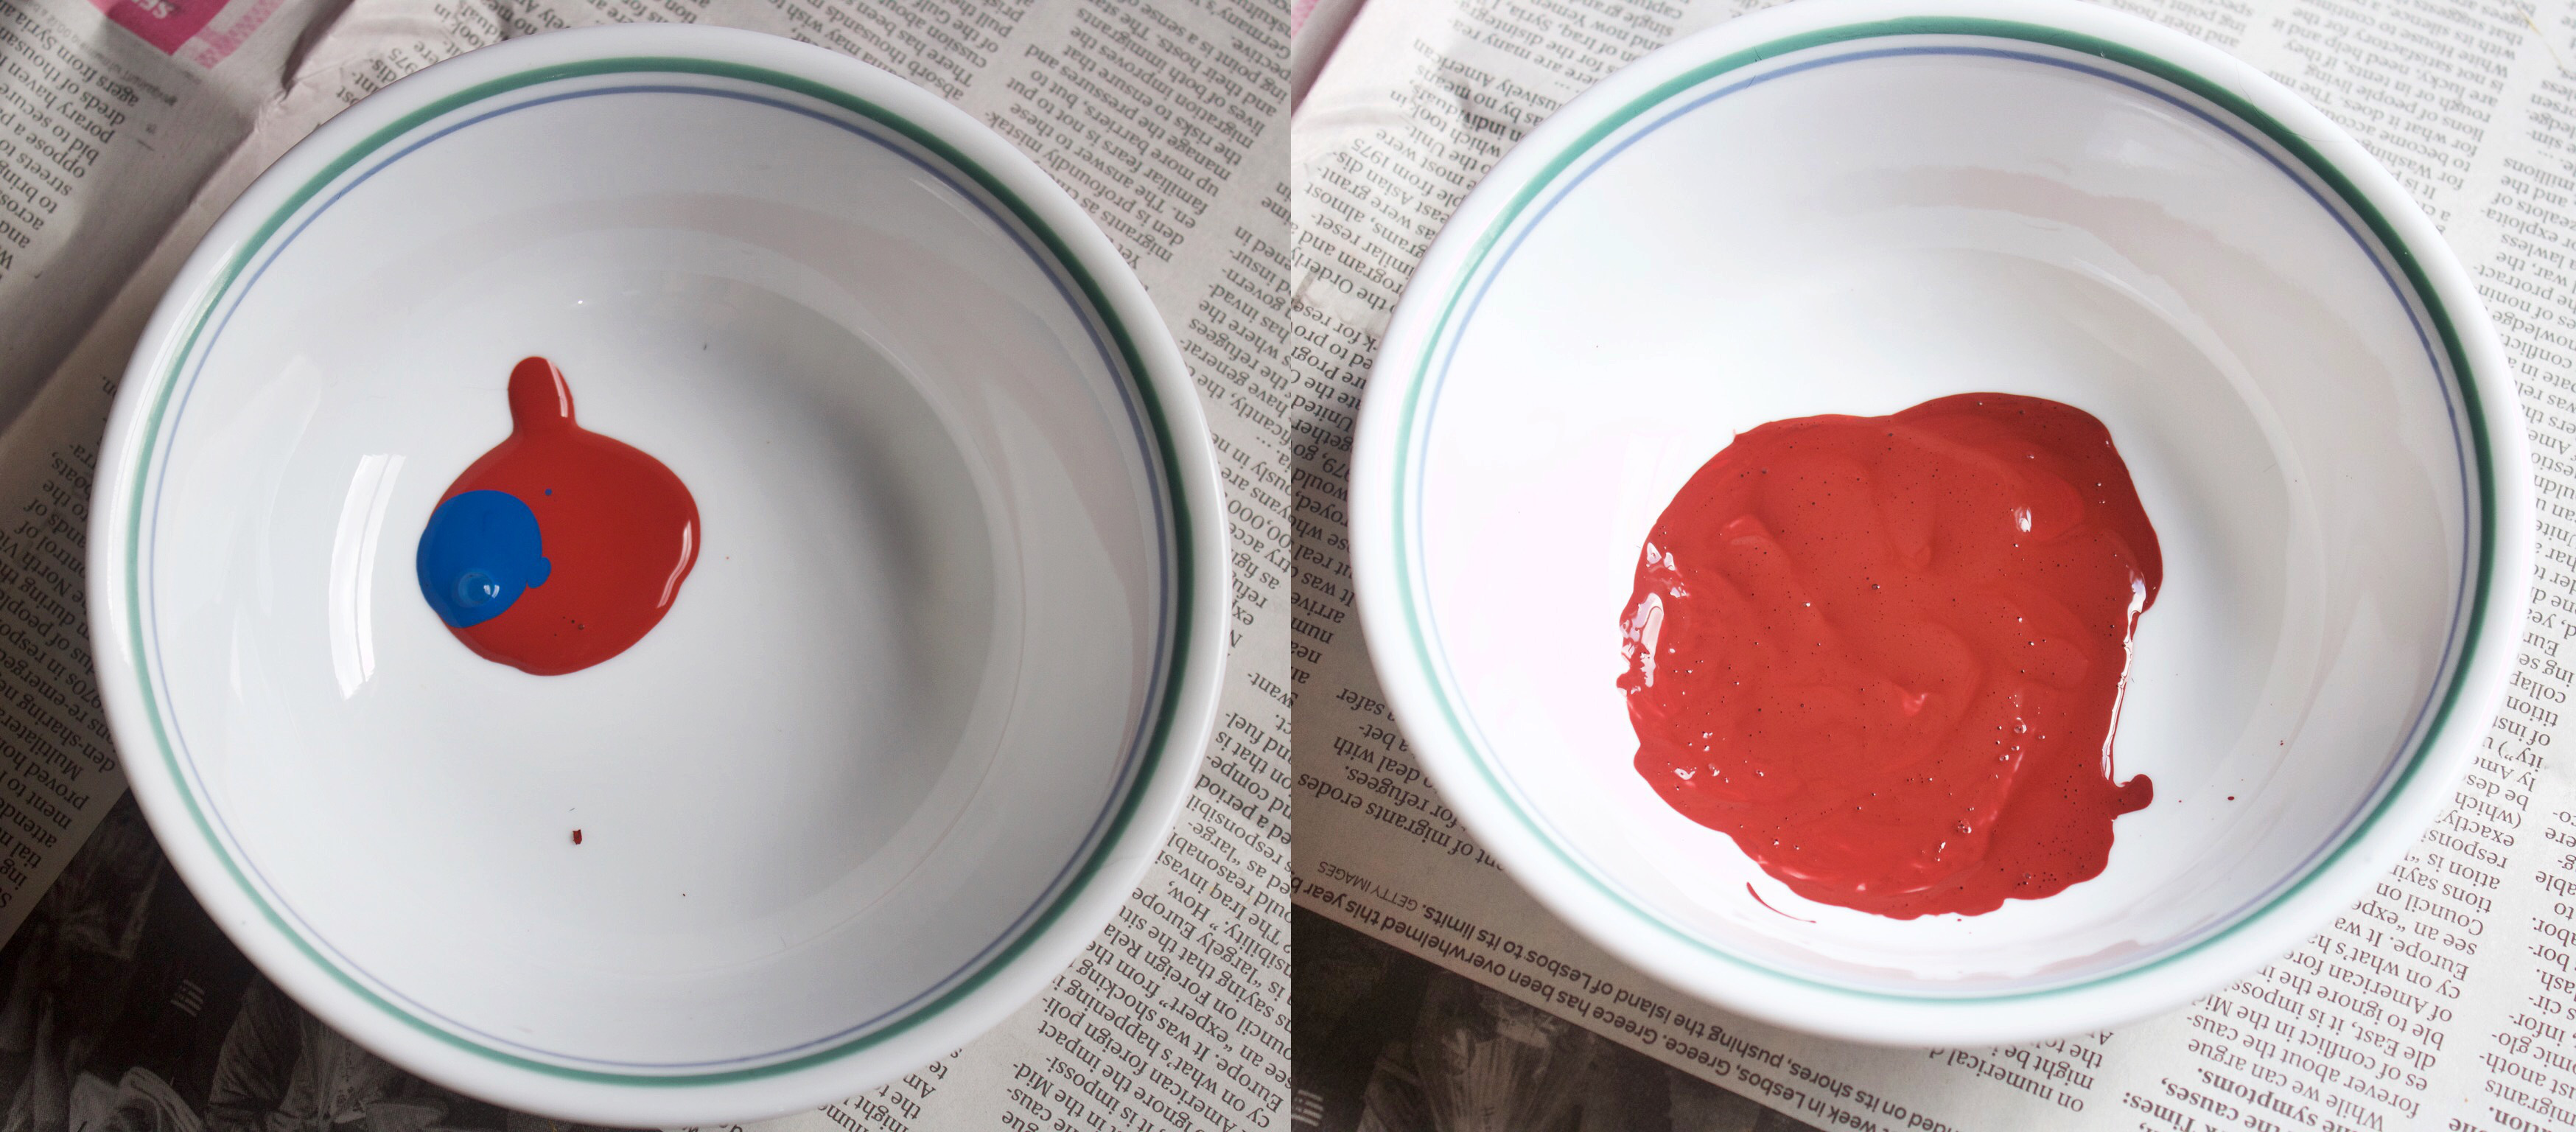
Step 4: Mix your blood
To get the perfect bloody color, mix just a little bit of blue in with your red paint. (It took me FOREVER to get the right mixture the first time!) Pictured on the left below is the perfect measurement of paint to get a nice rusty bloody color. On the book’s mask, it’s a very deep red, but I wanted mine to look slightly rusty like the color of real dried blood.
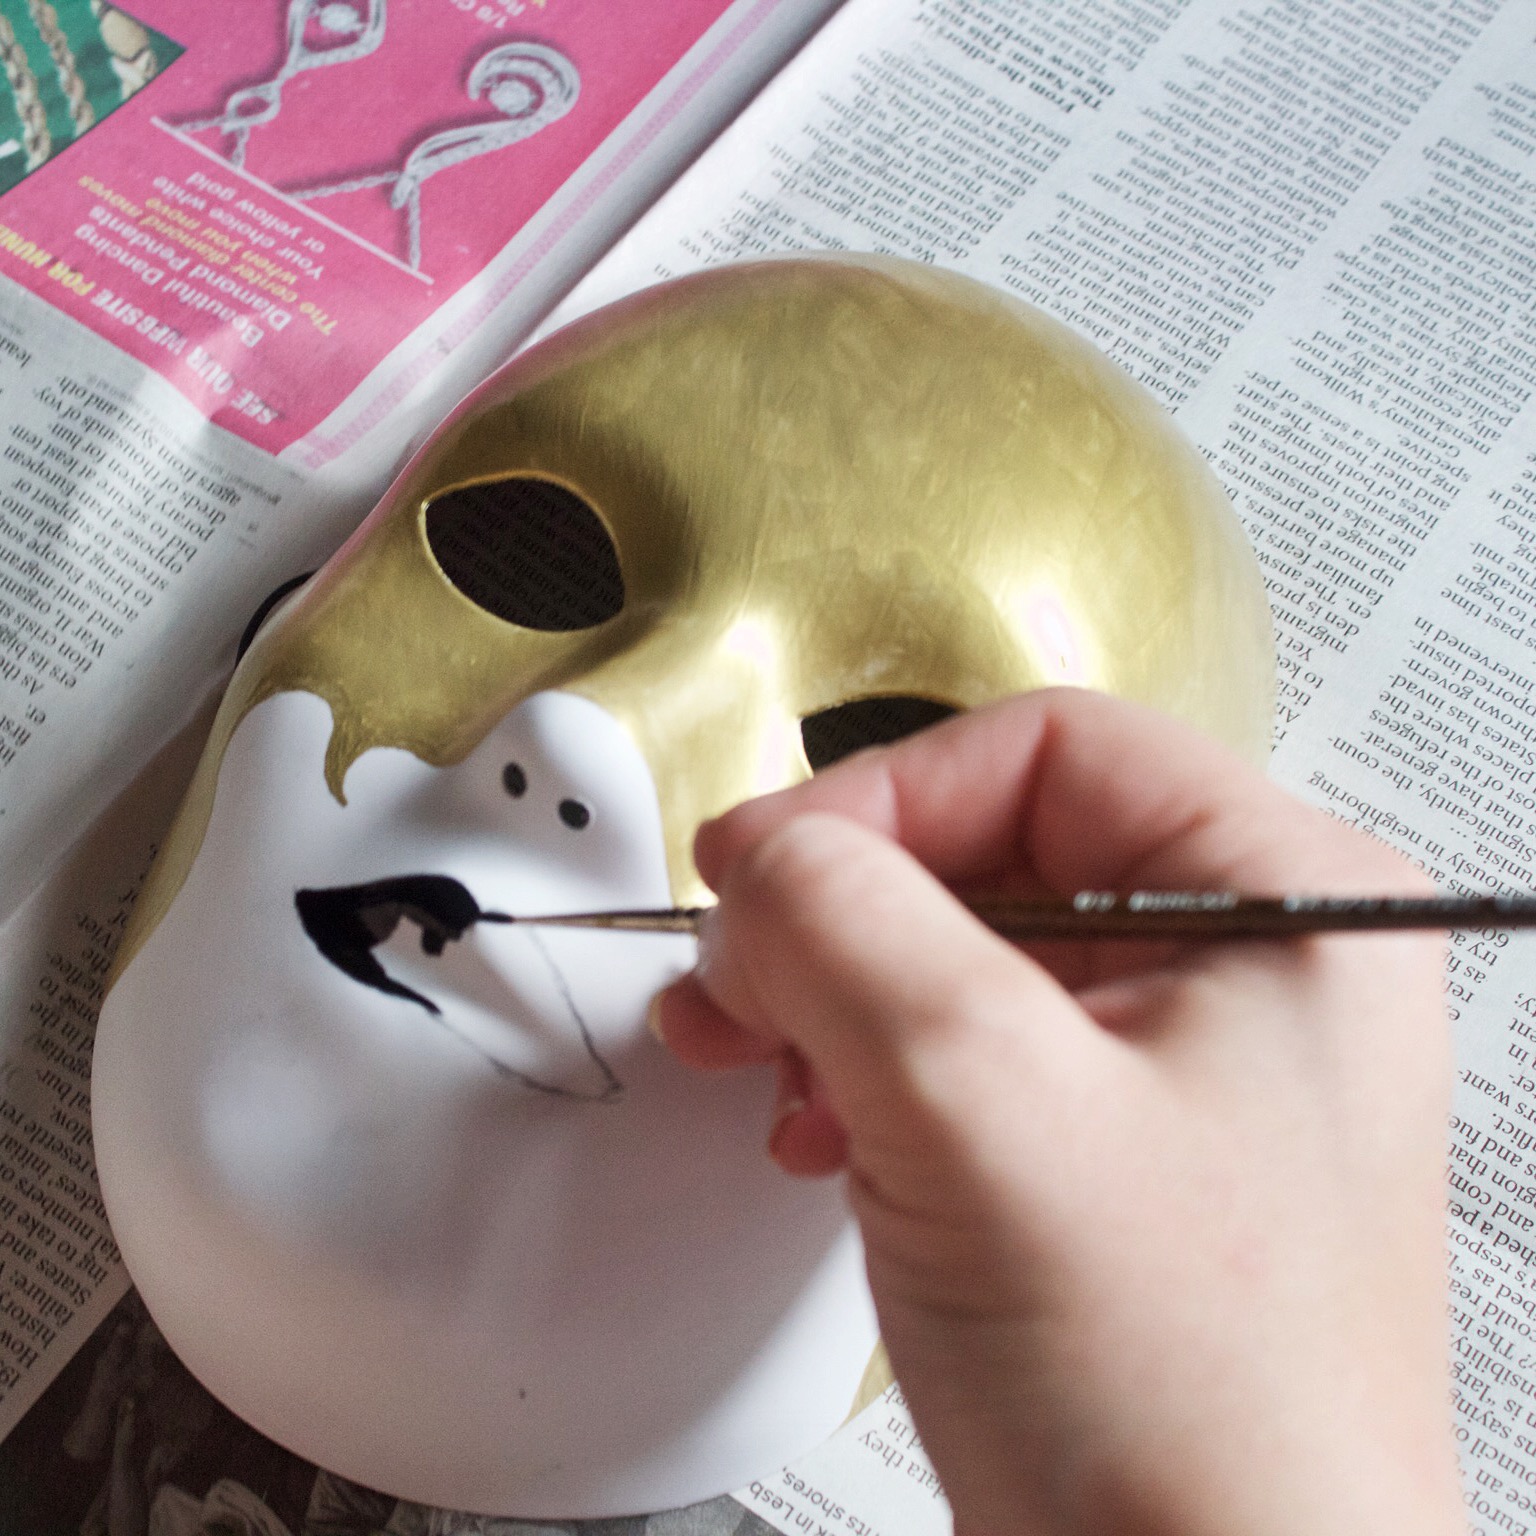
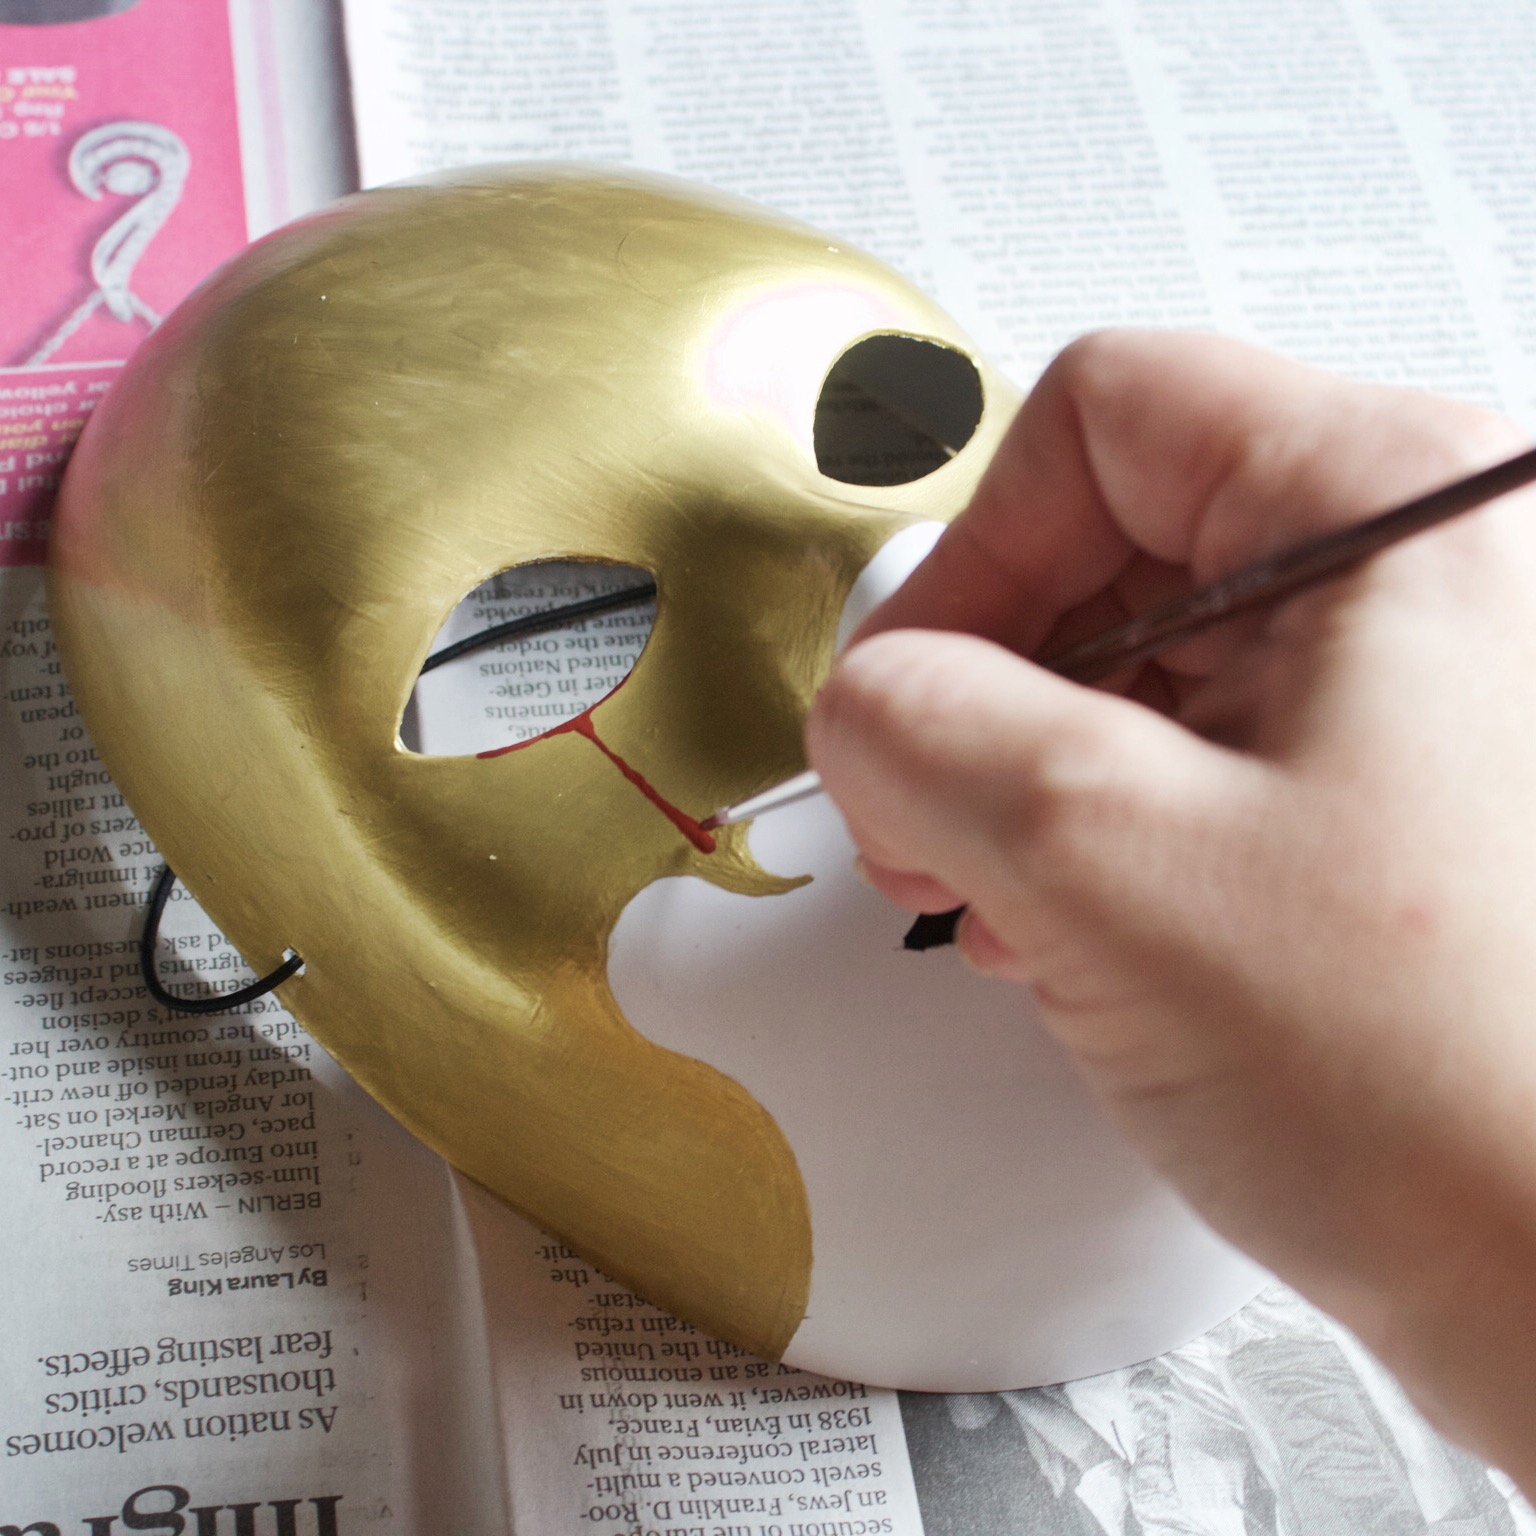
Step 5: Tears of blood
The tears are tricky. You have to have a very fine paintbrush for this part. Paint a line along the inner part of the bottom eyelid so you have a rim of blood. Starting at the top, put a little pressure so that it’s thicker where it comes out of the eye, ease up and very lightly trail the brush down, then put pressure at the bottom so you have a droplet shape at the end of the tear. I used quite a bit of paint on this area so it looks like it actually dripped.
After two more tears you should have something like this: 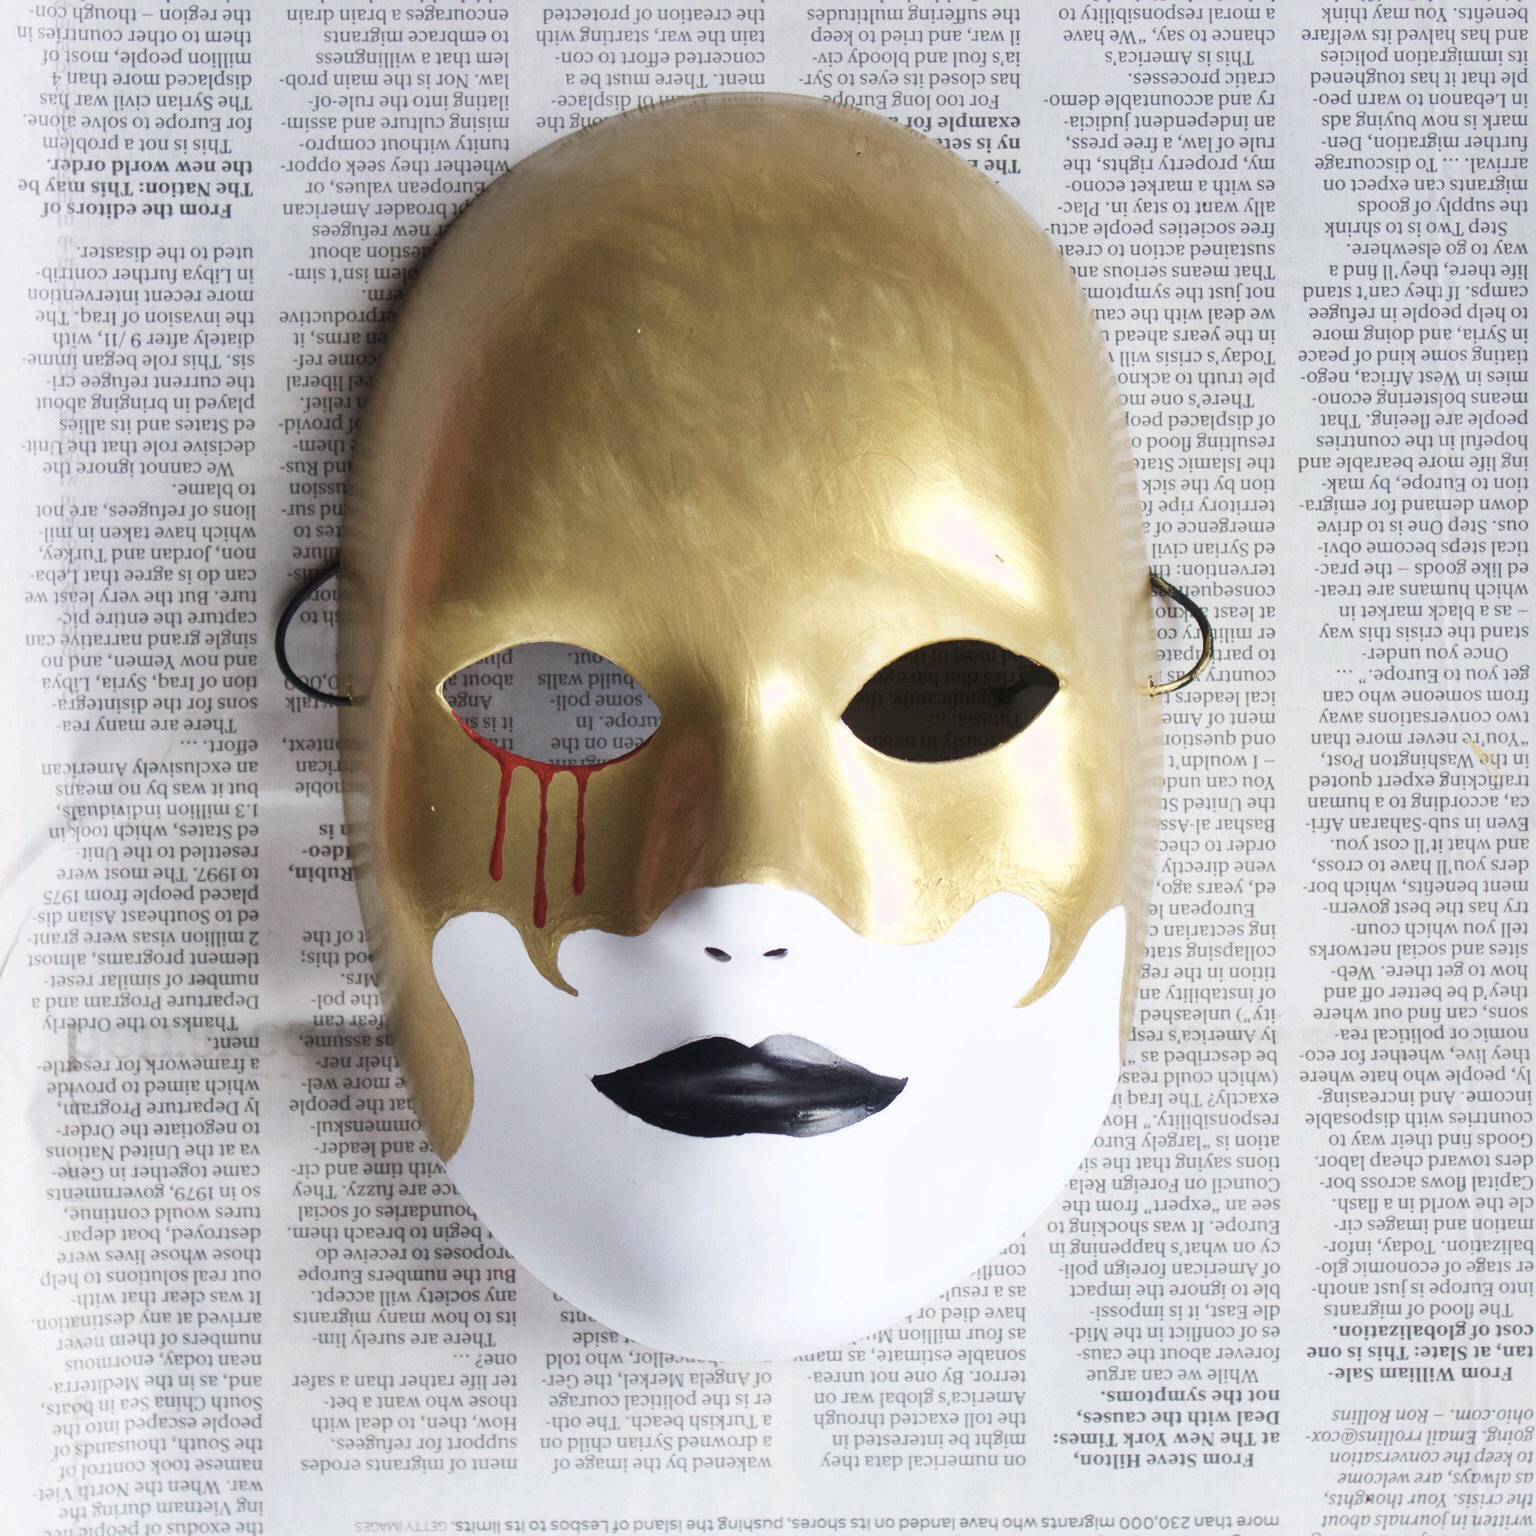
Step 6: Get bloody!
This is the hardest – as well as the most fun – part. This is going to take some trial and error to get your spatter correct. (The first time I did it I totally screwed it up and had to use white paint to cover up my mistake!)
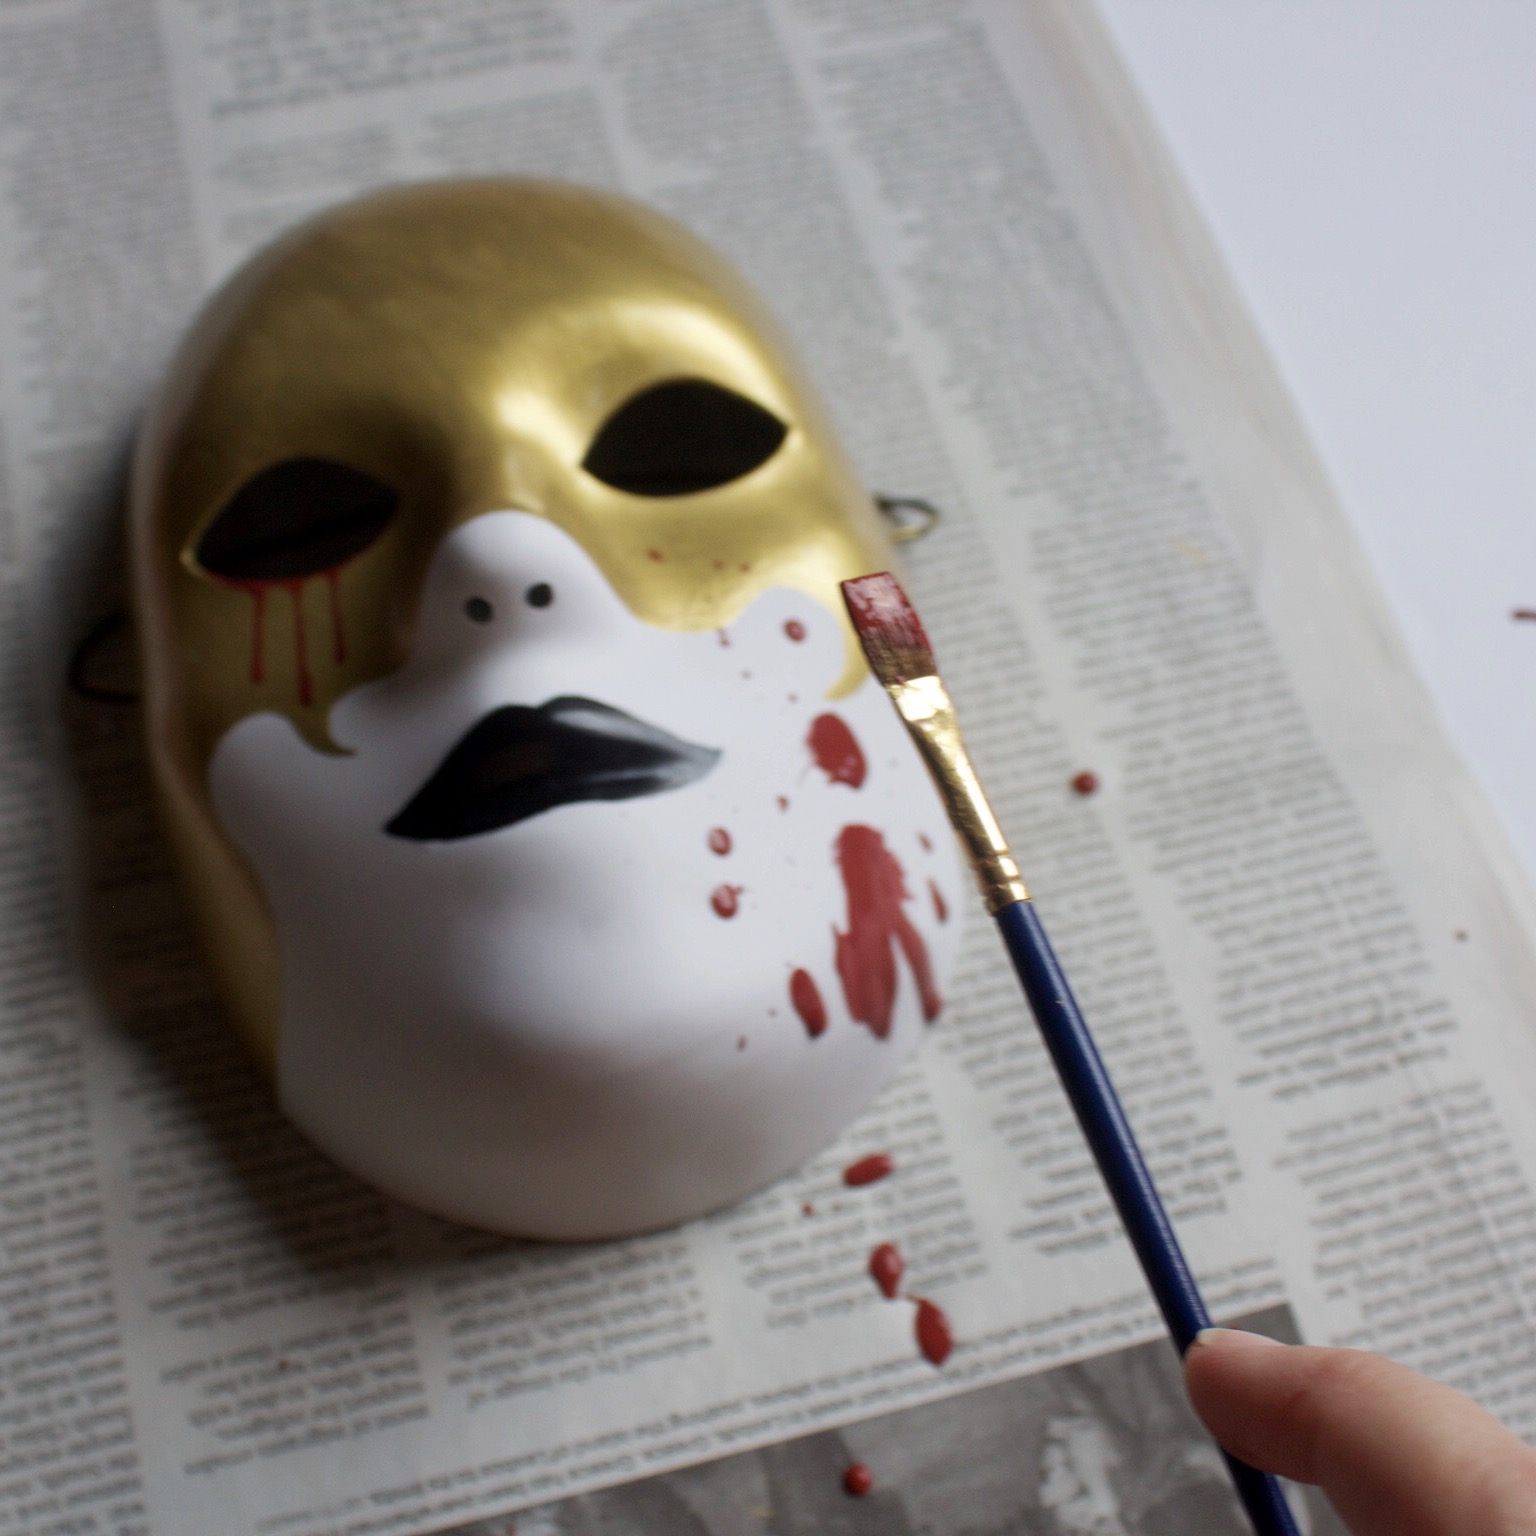
I’ve found that if you hold the brush at the very end of the handle as shown above and tap, don’t shake, the brush you get a nice smaller spatter. For the larger spots I kind of (carefully) flung the brush in the direction of the mask’s chin. I had to get a lot of paint on my brush for this, and let it drip down so it looks realistically spattered on the mask’s chin like it got sprayed with blood!
Tip: Practice your blood spatter on a piece of paper first!
Finished product
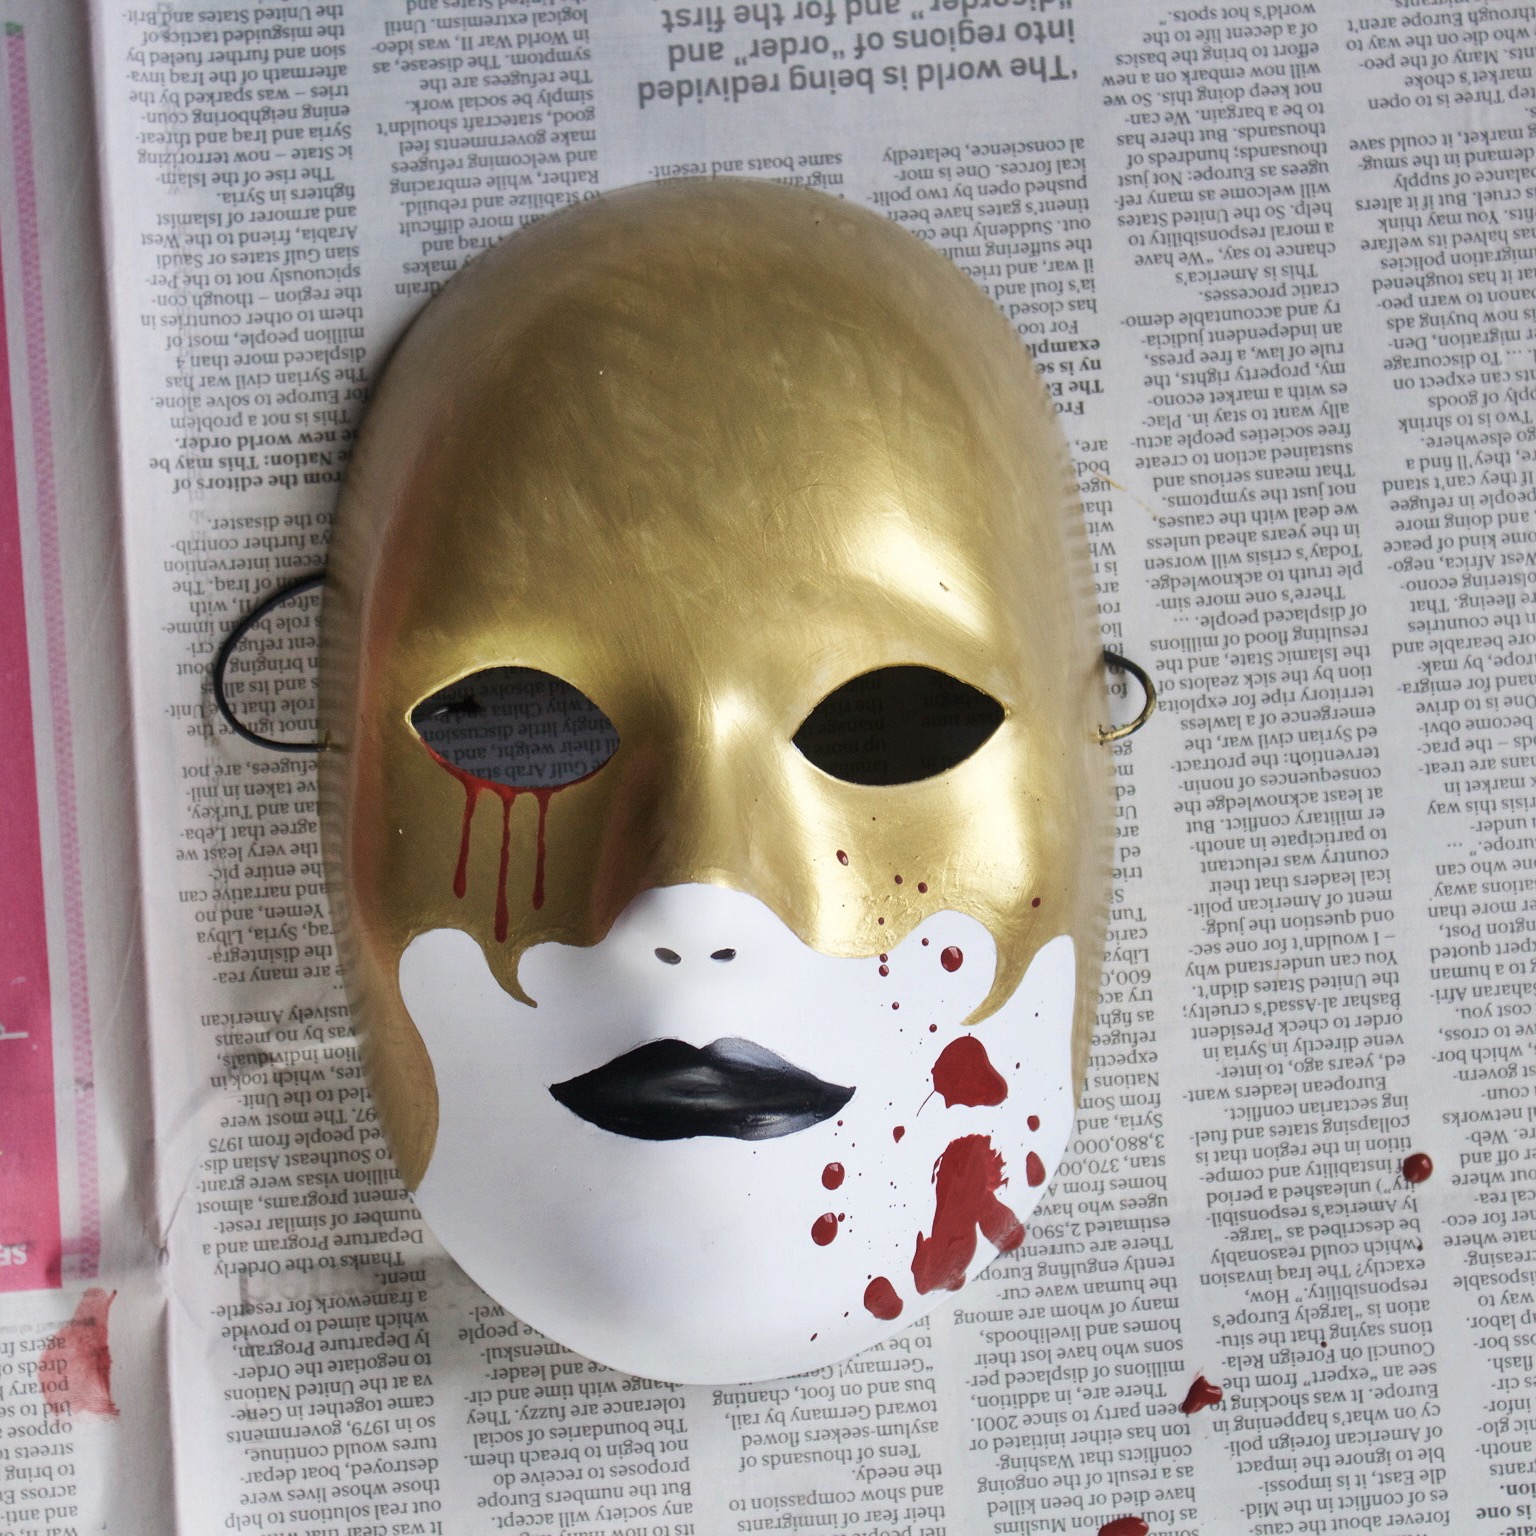
Voila! Now go and take lots of pretty pictures and hang it on your wall ;)
If you end up making your own, please share and tag me in it so I can see yours!
Giveaway
The prize: The mask I made in the tutorial!
Rules:
- Must be following me to enter
- Due to shipping costs this is US only, I’m sorry :(
- Runs through August 31st
- Winner will be chosen the first week of September
- Winner will have 48 hours to respond or another person will be chosen


That is cool as hell. I am so unartistic… mine would look terrible.
This is absolutely amazing. When I saw the cover of Nevernight, I was determined to cosplay it. That’s what I working on right now, actually! So this mask tutorial is actually really helpful, thank you!
Ohh that’s so awesome, I’m glad it’s helpful!! I briefly entertained that idea when I made the mask, but then I remembered I’m lazy haha. You should definitely tag me in your photos when you cosplay it :D
Oh wow, this is *amazing* :O
I won’t be entering but I’m going to spread the word (:
I love this! Thank you for sharing the tutorial! If I don’t win I think I’ll try making one (though it will most likely fail).
This is utterly fantastic! I really want to make my own mask, but really don’t have the time to. But if I ever do, I’ll refer back to this!
[…] Quote wallpaper made by Icy Books UK and US desktop wallpapers made by Behind the Pages US wallpapers made by Jay Kristoff How to make a Nevernight inspired mask by Novel Heartbeat […]
I love that you are so creative with the mask, your jars, and dragons. Seriously you blow me away. I wish I had a creative side like this but the most I can do is color haha. Love all of your work. <3
[…] Inspirieren lassen habe ich mich bei diesem Projekt von dem Tutorial von Novel.Heartbeat […]